How to use a tracing wheel and tracing paper effectively
A tracing wheel and dressmaker's tracing paper came in my first Dritz sewing kit for school. Our teacher taught us how to use a tracing wheel, but I never got good marks out of it, so I thought it was virtually useless. I never used a tracing wheel and tracing paper again, until in fashion school, I learned all the uses for rulers and how they help out in all aspects of sewing.
Below are pictures I took while making a prom dress. I'll show you how I used a serrated tracing wheel and a solid tracing wheel on the lining.
The tracing paper
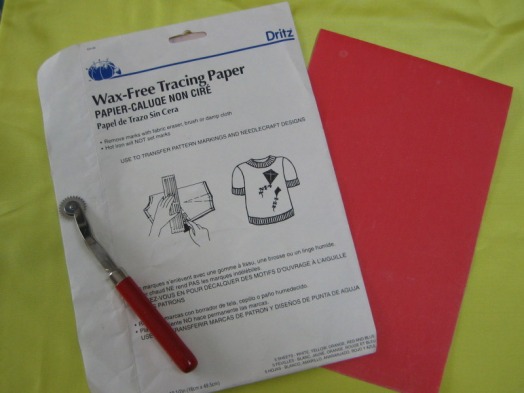
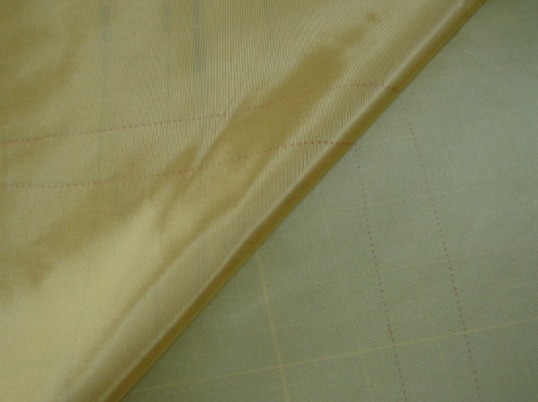
This is some typical dressmaker's tracing paper. New (i.e. not your grandmother's) tracing paper is wax-free and made of chalk. It comes in long, skinny sheets (about 7" x 20") that have the colored chalk coating on side. (I just Googled "dressmaker's tracing paper" and there are products that are coated on both sides!)
Marking Darts (or any design on the wrong side of the fabric):
Sandwich the tracing paper
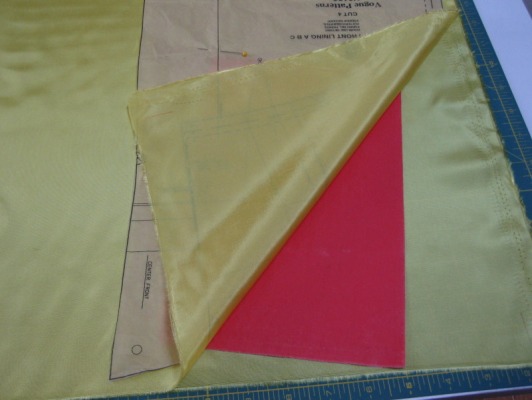
I fold the tracing paper in half so the colored chalk is showing on both sides. Sandwich it in between the 2 layers of fabric, so that you can mark both at the same time.
Use a ruler!
Here's where the ruler comes in. My problem with tracing wheels before was that I couldn't put the pressure necessary on the tracing wheel to get through all the layers AND stay on the line and the same time.
Using a ruler makes it so simple!
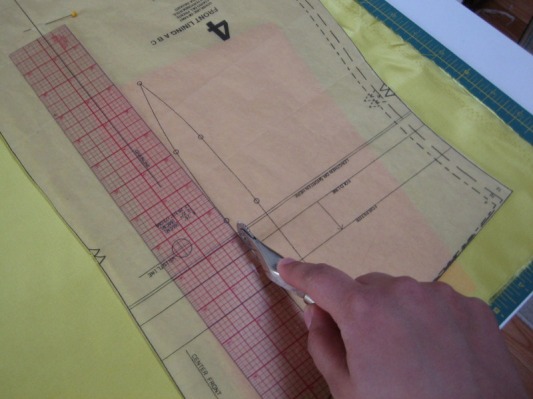
Line up your ruler along the line you're going to mark. Run your tracing wheel along the ruler. You can put as much pressure on the wheel as necessary to mark through all the layers.
(I had to use one of my hands to take this picture, but really, you'd be using your other hand to hold the ruler down firmly! That way your tracing wheel won't move the ruler and ruin your marks.)
I have a rotary cutting mat underneath my work as well, which I think helps a little, because of the slight give of the mat.
Using a ruler makes it so simple!
Line up your ruler along the line you're going to mark. Run your tracing wheel along the ruler. You can put as much pressure on the wheel as necessary to mark through all the layers.
(I had to use one of my hands to take this picture, but really, you'd be using your other hand to hold the ruler down firmly! That way your tracing wheel won't move the ruler and ruin your marks.)
I have a rotary cutting mat underneath my work as well, which I think helps a little, because of the slight give of the mat.
Move your ruler as you go.
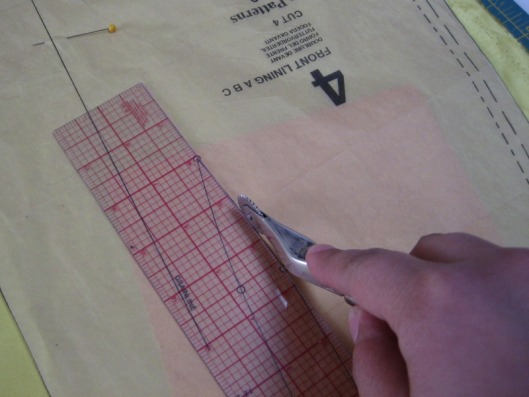
Move the ruler as you go. A straight ruler will help you even if your line is slightly curved. Work in small sections if you must.
*Note I'm using a serrated tracing wheel here, because it's a sewing line.
*Note I'm using a serrated tracing wheel here, because it's a sewing line.
Enjoy your marks!
Enjoy your marks!! They make the sewing so much easier!
It might take a bit of time to get used to the technique, but being able to make marks on both sides of your project at once is a huge time saver, especially on inner darts like these, where you can't just use notches and clips to mark.
It might take a bit of time to get used to the technique, but being able to make marks on both sides of your project at once is a huge time saver, especially on inner darts like these, where you can't just use notches and clips to mark.
Marking Cutting Lines:
Draw out your new cutting lines
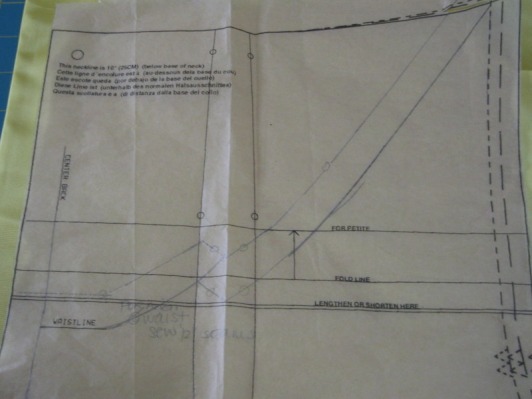
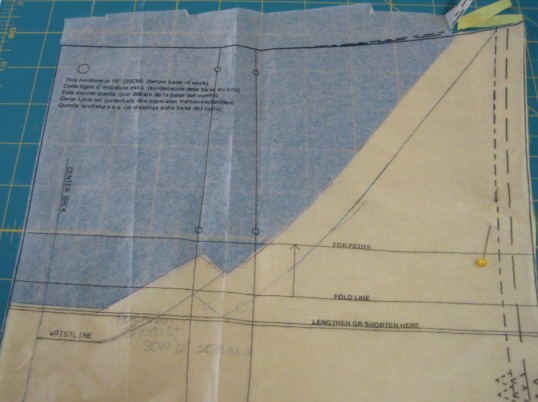
Here, I wanted to make a low-cut back to the dress, but didn't want to cut up my pattern. First, I drew where I wanted the finished seam line to be, then I used my gridded ruler to draw a cutting line 5/8" away.
Trace the new lines
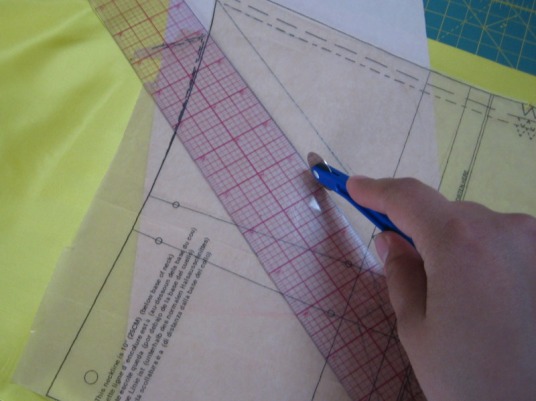
I put a sheet of tracing paper face down on the top layer of fabric, just under the pattern. Since it's a cut line, I don't need to sandwich the tracing paper or make double marks. I used my straight edge tracing wheel and a ruler to trace a line along the cutting line as I did above with the darts.
(Don't forget that your other hand will be holding the ruler firmly!)
(Don't forget that your other hand will be holding the ruler firmly!)
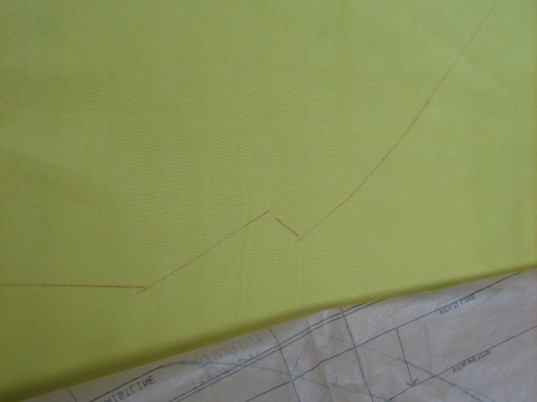
Here you can see the traced line on the fabric.
Cut on the lines!
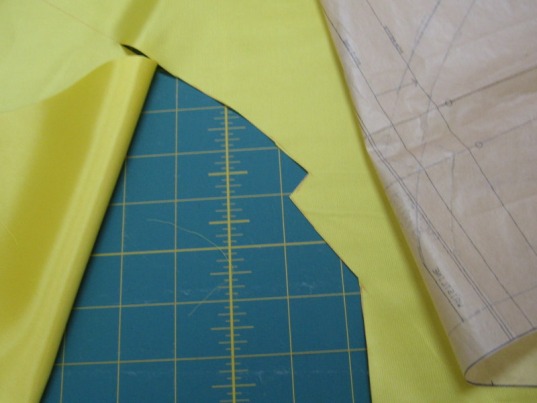
I cut the fabric along the new cutting line and cut out the rest of the pattern piece as normal.
Enjoy your in-tact pattern piece!
I was able to create a new design without ruining my original pattern piece! Thank you tracing wheel!
